Installation Guide
Cheers to Clean & Organized Gear
Grab your favorite drink—coffee, kombucha, or something stronger—and make your lenses and cameras uniquely yours with our indicator labels. Give your gear bag some TLC while you’re at it, then sip and start installing!
Please review all the tips before starting to apply your labels
Version Française

Before Anything, Clean Your Caps
Remove any dust, greases, or residue using rubbing alcohol and a microfiber or lint-free cloth.

Peeling The Label
When detaching the label from the sheet, you can lightly fold the sheet on the edge of the label to help detach it without damaging the label.

Install Cap On Camera BEFORE Applying Label!
Install the cap on your camera and secure it in the lock position. Then, apply the label so it nicely aligned with the camera.

Applying The Label
To apply the label, carefully align it on one side, then gently slide it across with your thumb without pressing. This lets you adjust or remove it if misaligned or bubbly. Once positioned, press only the edges, especially on textured or raised logo caps, for a smooth finish.

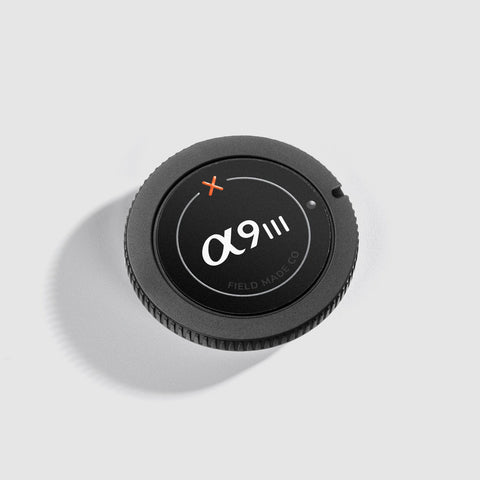
All Lined Up
Align the X on the labels with the lens cap indicators to align the cap when installing it on the lens.

Caps With Raised Logos
If your cap has a raised logo, align label focal length numbers with the lens cap brand logo, and apply pressure only around the edges of the label to create a clean raised effect.

Front Cap Indicator Application
For a neat, raised appearance, apply front cap indicators over the brand logo on smaller caps or beneath the logo for larger ones.
Missing a Label?
Check out our individual labels. Save 15% on 5–9 individual camera & lens labels, 20% on 10–14, or 25% on 15+. Discount applied in cart.


Individual Camera Labels
Camera Indicator for Canon RF - Silver Foil
Price:
$8.99 CAD
Regular price:

Updated